Posts

Image
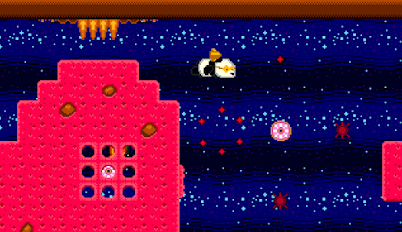
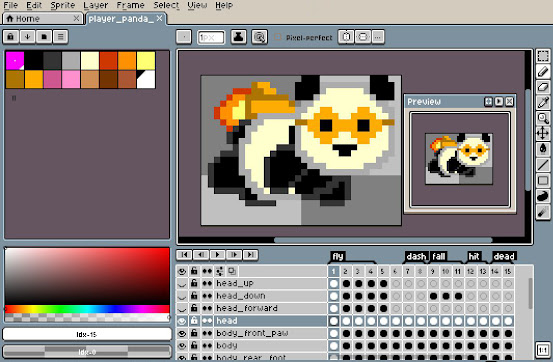
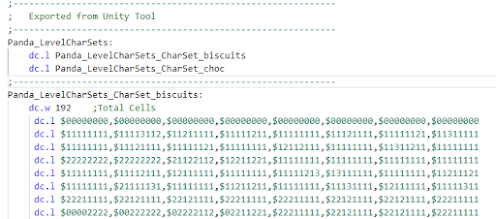
Big Scaled 'Sprites' All game development is cheating. The older and slower and simpler the hardware, the more cheating you need to do! So how to achieve big scaling backgrounds?  The first solution I came up with was just to store all the frames of a scaling animation, convert all frames to a character set, and store down a character map for each frame of the animation. This actually works great, and is really simple to implement. However the problem lies in authoring the content. We couldn't find a decent way to scale images on character boundaries in Aseprite, and the other approach I was going to try was to add another tool in to the toolset to do the map scaling for me. (in fact, we might well do this at some future point - depends on usage) But instead I decided to give the 'real time' scaling a shot first, just to see how slow it would be. It'd be a fun bit of code to create, at least. To make things simple and fast I output some helper data from my c# to...
Image
 GameObject Sequencer. Bosses made simple. For every general enemy type in the game I simply code up its actions, at the same time building a library of commonly used functions, for instance animation, path following, or wall collision. Getting on to bosses though, it makes sense to expand the system a bit to allow for (slightly) more complex behaviours. So what does a boss do in this game? Generally they all follow the same sort of pattern.. follow a sequence of mini-actions, attacking the player, moving around, becoming vulnerable or invulnerable to attack, etc. This needs to be easily editable at a high level, too. so iterating on gameplay is efficient. Cheese Boss Here's the Cheese Boss, and below is his sequence in 'code' BossCheese_Sequence1: .loop:     SEQ_IMMEDIATE BossCheeseSeq_StartScreenShake,0     SEQ_IMMEDIATE BossCheeseSeq_SetInvisible,0     SEQ_PAUSE 100     SEQ_STATE ...
Image
The GameObject System The heart of this Genesis game / engine is the GameObject system. And it doesn't really get much simpler than this. (These aren't Unity GameObjects!) I have a single list of GOs - each being an area of memory - effectively in a list. They are (sort of) structures. (there are not really any structs or classes in assembler) These contain the basics which every kind of GO needs. Data like position, velocity, animation frame, flags, etc. Alongside that they have some space which can contain different data for different types of GOs. There is no concept of a class hierarchy, each GO is the same from the code's point of view. Having a fixed size structure is an enormous advantage. It keeps things simple, and removes the need to have different sorts of lists for different objects. For speed when adding / deleting objects I keep lists of pointers. One for GameObjects which are in use, and one for those which are inactive, so this operation always takes a fixed...

On the Tiles

Image
  When designing art for the Sega Megadrive, it's important to understand how the console handles graphics. The Megadrive uses a custom graphics chip called the Visual Display Processor or VDP. The VDP is tile-based - graphics are stored in tiles that are 8x8 pixels big. Sprites are split into tiles which are then read in sequence to display them. Each of the tiles references one of the 4 colour palettes available. The above image shows how the VDP has stored the graphics from the main window and the 4 colour palettes being used. (The 5th line of colours is not in the data, but used by the Gens emulator for testing). 8x8 tiles are the basis for all the graphics. So all sprites and game tiles have to conform or fit into multiples of 8, e.g.: 16x16, 32x32, 16x48, 8x24, etc. The VDP stores all this information in it's VRAM, which is limited to 64K. One of the tricks the Megadrive can use is to use DMA (Direct Memory Access) to copy data from the game ROM to the VDP. This takes som...

Mega Palettes

Image
  Ah, the Sega Megadrive, halcyon days. I remember pre-ordering mine from Special Reserve and eagerly awaiting the launch date. They sent me a copy of Super Monaco GP and a second control pad, which I got to stare at for a week before the console itself finally arrived. It was worth the wait. I still own one today. If you're going to make graphics for a Megadrive game, then you're going to be spending a lot of time with palettes! Aside from the pixel art program Aseprite, the most useful graphics tool I have is a post-it note stuck to the monitor with the numbers 0, 52, 87, 116, 144, 172, 206, 255 written on it. I am almost exclusively using Aseprite to produce the graphics for Rocket Panda, and occasionally Cinema4D to render any 3d animated objects which then need to be processed through Aseprite. The end result is a series of sprite and tile sheets which are mapped to particular palettes. Creating these palettes is the crux of the operation and has to be nailed down fairly e...
Image
 A bit of editor tooling: Tile Editor. OK, there are a lot of tile editing tools out there. Also I have no idea how many of these I have made over the years, on Amiga, ST, DOS, Win32, and even a simple editor on the Megadrive itself! But, this project is about making as much from scratch as possible, and learning a bit of Unity on the way. So, here's the Genesis Tile Map Editor! One of my favourite tile editors was the Rainbow Arts one, on Amiga. Sadly, and surprisingly I can't find any reference to this on the internet! I dont know how we came to use it either. I suspect it was some dodgy hacked copy! Anyway this program used a lot of keyboard shortcuts from DPaint, and so was quick to pick up for anyone in game development in the 90s! It's all based on Brushes. Grab a rectangular brush with B, and place it with your cursor. (while applying any transforms or effects on the way).  The other important feature is that of tile rules. This enables us to draw out a basic shape f...
Image
 Getting The Data So, having decided on using Unity to create the data (levels, sprites, definitions. etc.).. how to get it in to the game? A common way when using assembler is to dump out binary files and #incbin them in to the code base. This always had the advantage of being quick to assemble, as all the assembler needs to do is to copy the binary contents of a file to a particular location. The downside is that it's not so easy to debug. Now that my PC is probably 100000x quicker than anything I used in the 90s, assembler time isn't an issue at all. Assembling the entire project takes way less than a second! So instead, I opted for the other common technique, which is to export files with asm code and data in them. All data is now exported as labels, tables, and declarations in source. This has the wonderful advantage of being much easier to debug. Here's an example of exported level data: As all the assets are given labels inside the editor, the labels get recursed dur...